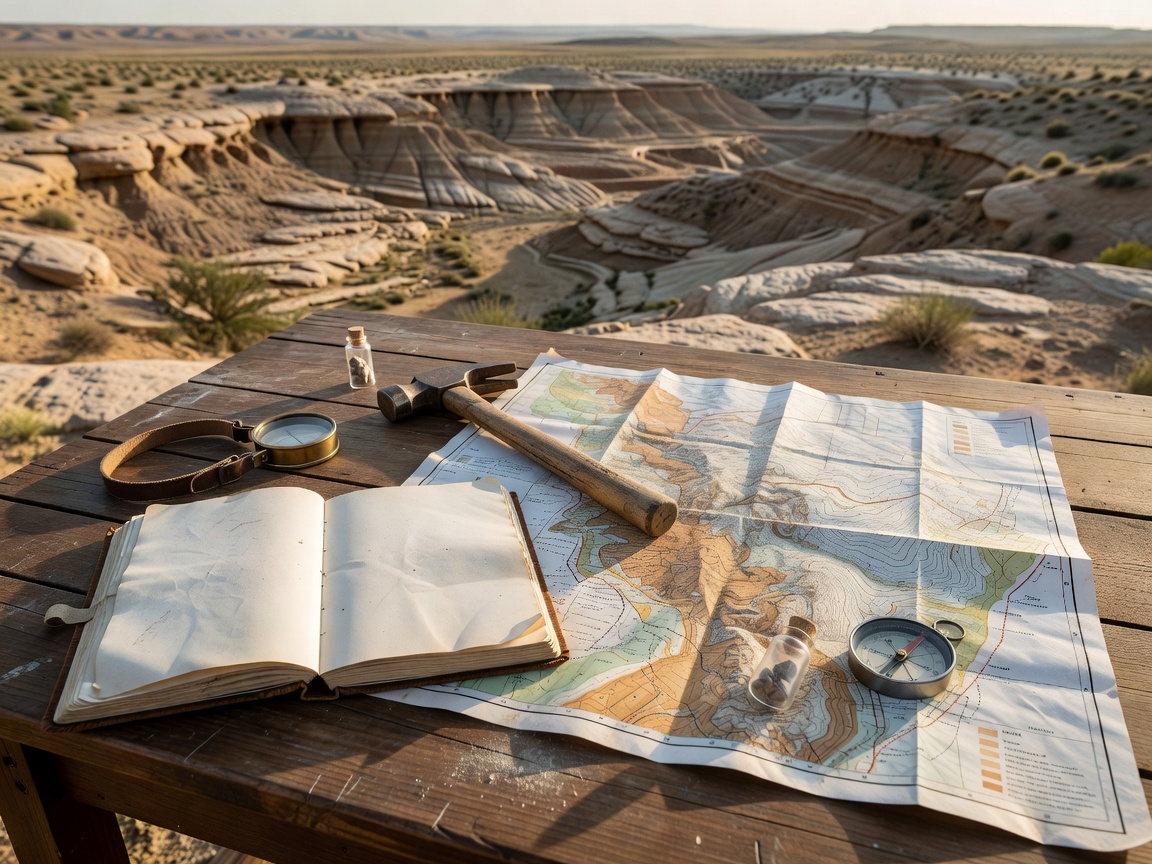
A geological formation describes rocks, not visitor access. A locality mentioned in a guide may be private, protected, closed or hazardous. Confirm current arrangements with the responsible land manager or authority, and do not travel on the assumption that entry or collecting is allowed.
1. Start with a research question
Decide what you want to learn before choosing a destination. You might compare sedimentary settings, observe bedding from a public viewpoint or connect a museum specimen with its geological context. A focused question helps you choose suitable sources and reduces pressure to handle or remove material.
Use geological maps and published descriptions to understand the broad setting. Check the map legend, scale and explanatory notes, and keep geological information separate from visitor guidance. A mapped rock unit does not identify a safe route, confirm a public right of access or grant permission to collect.
2. Confirm access and permissions
Identify who manages the land and check the current rules for the exact area and activity you have in mind. Walking a public path, leaving that path, photographing an exposure and collecting a specimen may each be governed differently. Permission from a landowner may not replace a permit or other approval required under conservation law.
- Check official land-manager, site-operator or local-authority information.
- Confirm whether the area is protected and whether access or collecting is restricted.
- Ask for clarification if the boundary, route or permitted activity is unclear.
- Follow signs, closures, supervised-visit conditions and instructions on site.
- Do not cross fences or enter private, operational or restricted land without explicit authorization.
Information can change after publication. If you cannot verify that your planned visit is permitted, choose another destination or study the locality through a museum, public viewpoint or published record.
3. Assess conditions and hazards
Check current local weather, access notices and any relevant site-specific safety guidance close to your visit. Coasts can involve changing tides, waves, rockfall and unstable cliffs. Quarries may be active workplaces or remain hazardous after operations stop. Caves, steep slopes and road or rail cuttings can carry serious risks and access restrictions.
Use designated paths and public viewing areas. Keep away from cliff edges, unstable faces, excavation machinery, water-filled workings and traffic. Do not climb a rock face, enter a cave or quarry, or rely on an informal route to reach an exposure. If conditions deteriorate or an area appears unsafe, leave by the permitted route.
This guide cannot assess a particular location or replace advice from its manager. Specialist equipment does not make an unauthorized or unsafe site suitable for a visit.
4. Prepare a practical plan
Before setting out, note the approved route, opening or access conditions, transport arrangements and a suitable way to check for updates. Consider whether the terrain, distance and conditions are appropriate for everyone in your group. Follow local outdoor guidance, carry what is appropriate for the visit and let someone know your plan when warranted.
Have a no-entry alternative ready. A public geological viewpoint, museum gallery, digital collection record or published section can answer many research questions without approaching a hazardous or restricted exposure. If the site is closed or access cannot be confirmed, use that alternative.
5. Observe without disturbing
Fossil observation does not require collecting. From a safe, permitted position, record visible features such as the rock’s layering, broad location and surrounding setting. Photograph only where allowed and avoid touching, scraping, washing or moving material. Do not remove a specimen unless the activity is explicitly lawful and authorized for that location.
Keep notes factual. Separate what you can directly see from your interpretation, and make uncertainty clear. A description such as “ribbed shell-like impression in layered rock” is more useful than an unsupported species identification. Avoid sharing precise locality details if doing so could put a vulnerable site at risk.
6. Keep a clear visit record
A concise field record can connect observations to their context. Note the date, broad locality, access source consulted, conditions, visible rock features and any restrictions you followed. Record the source of later geological or fossil identifications. Do not invent specimen numbers or imply that personal notes are an institutional catalogue record.
- Record where your access information came from and when you checked it.
- Describe observations separately from geological or taxonomic interpretations.
- Use photographs and measurements only when permitted and possible without disturbance.
- Respect restrictions on photography, sensitive information and site disclosure.
- Leave fossils, loose material and other geological features undisturbed unless collection is expressly permitted.
Before departure
Confirm the route, permission, protection status and current conditions. Share your plan where appropriate and identify a safe alternative in case access changes.
On site
Stay within permitted areas, follow local instructions and observe from a safe position. If access or safety is uncertain, do not proceed.
A final visit checklist
Before travelling, make sure you can answer these questions:
- Who manages the location, and where is the current access information?
- Is my planned activity permitted, including photography or collecting?
- Is the site protected, closed or subject to supervision or a permit?
- What current hazards or conditions could affect the route?
- What is my safe alternative if access is unavailable?
If any answer is uncertain, pause and seek authoritative local guidance. Responsible planning protects visitors, geological features and the context that makes fossil evidence valuable.